Blood Lab subjects are reusable test bodies for comparing weapons, hit locations, protection, injuries, blood loss, and recovery attempts. Start with a Test Subject, then choose one variable at a time: leave the body unprotected or equip Jacket/Pouches, target a body region, and observe whether the result is bleeding, a fracture, paralysis, KO, or death. The same setup makes comparisons easier than treating every NPC as a different combat encounter.
The Blood Lab subject catalog
The table groups the subject-related entries by the job they perform in an experiment. A body region is not a separate NPC; it is a target area on the Test Subject. Likewise, bleeding and the other states describe what happens to the subject after damage.
| Subject entry | Role | What it helps test | How to use it |
|---|---|---|---|
| Test Subject | Experiment body | Repeatable target for weapons, explosions, piercing, treatment, and environmental effects | Generate or select one after entering the lab |
| Jacket | Armor | Whether clothing reduces direct attack impact | Equip it from Armor inventory when available |
| Pouches | Armor | A second protection setup for comparison | Equip it from Armor inventory when available |
| Head | Body region | Head-hit damage and possible immediate death | Aim at the head of a Test Subject |
| Torso | Body region | Visible bleeding and blood spread | Aim at the torso |
| Throat | Body region | Heavy bleeding and rapid loss of blood | Aim at the throat |
| Arms / Legs | Body region | Fractures, limb injury, and paralysis | Repeat attacks on the selected limb |
| Bleeding | Injury state | Ongoing blood loss, spray, drips, and floor or wall trails | Create a wound with a weapon or other damaging effect |
| Unconscious / KO | Survival state | A subject that falls and cannot act normally | Cause severe blood loss or other serious damage |
| Dead | Survival state | The terminal condition for the current experiment | Can follow blood loss, explosions, or head attacks |
| Paralyzed | Injury state | Restricted movement or unusual limb activity | Damage the body or limbs; exact trigger varies |
Use the table as a setup checklist rather than a promise of fixed damage numbers. The available records identify the observable purpose of each entry, but they do not establish universal thresholds, protection percentages, state durations, or a complete recovery rule. For a repeatable comparison, record the weapon, target area, armor setup, and visible outcome each time.
Setting up a Test Subject
First enter the laboratory and generate or select a Test Subject. Pick the layout and position that let you see the target area clearly. The subject is valuable because it gives you a consistent body on which to compare tools, not because it is a single mission objective.
Before applying damage, decide what the experiment is meant to answer. If the question is armor, keep the weapon and target area the same while comparing an unprotected subject with a Jacket and then Pouches. If the question is anatomy, keep protection and weapon choice stable while moving from the head to the torso, throat, arms, and legs. Mixing both variables at once makes it difficult to tell whether the body region or armor caused the difference.
The lab can also let you choose a blood colour and arrange the environment. Chairs, walls, glass, and obstacles can hold, push, or limit a subject's position. These objects matter when you need a clear view of a wound or want to compare how blood moves across surfaces, but they do not replace the subject setup itself.
What hit locations show
The recorded observations distinguish the major target areas, but they are descriptive rather than a damage calculator.
- Head: A head hit can produce immediate death even when the visible bleeding appears limited. Do not judge severity from spray alone.
- Torso: The torso is a useful place to observe obvious bleeding and blood spread. The available description identifies it as a region with many blood vessels, making it a central target for blood-loss tests.
- Throat: Throat damage is described as producing strong spray and rapid blood loss. Treat it as a high-severity comparison point, not as a guaranteed one-hit result for every tool.
- Arms and legs: Repeated limb damage can cause fractures or other injuries. Both legs are reported to leave the subject paralyzed in one observed case, while the exact trigger threshold is not established.
A visible wound does not by itself tell you whether the subject will become KO, remain mobile, or die. Severe bleeding can reduce survival and lead to Unconscious / KO or Dead, but the records also include subjects falling from other damage. That is why the safest observation is a sequence: identify the hit area, watch the injury, then record the later state separately.
Compare subject protection and hit locations
These moments support the article's comparison of Jacket protection, head, torso, and throat bleeding, plus the reported paralysis result from damaging both legs.

Armor comparisons: Jacket and Pouches
Jacket and Pouches are armor entries used to compare protection. The recorded jacket observation says repeated attacks had a noticeably reduced effect after it was equipped, but no confirmed protection value is provided. Pouches is associated with 60% in the available description; the meaning of that number is not confirmed, so do not treat it as a verified damage reduction, survival chance, or coverage value.
A useful comparison has three passes:
- Use the same weapon and aim at the same area with no armor. Note bleeding, movement, and the final state.
- Reset or create another subject, equip
Jacket, and repeat the same attack. Compare visible effect rather than assuming a hidden percentage. - Repeat with
Pouches, keeping the attack and target unchanged. Treat the displayed or reported60%as unexplained until the current in-game panel identifies what it measures.
Resetting between passes is important because a partially injured subject is not a clean baseline. The records support a comparison of observed outcomes, not a universal ranking that says one armor entry always wins against every weapon or body region.
Reading injury and survival states
Bleeding, Paralyzed, Unconscious / KO, and Dead should be recorded as separate observations. Bleeding describes an ongoing injury effect: spray, dripping, trails, and reduced ability to survive. Paralysis describes restricted or abnormal movement and can occur alongside visible injury. KO means the subject has fallen and cannot act normally, but the available observations cannot always separate shock, blood loss, or another cause. Dead means the subject has stopped acting as a normal experiment body.
This distinction prevents two common mistakes. First, a subject that falls is not automatically proof of a blood-loss threshold. Second, unusual movement after paralysis is not enough to infer a complete state-transition system. The available records confirm that these states occur, but they do not provide a full chart for when each begins, how long it lasts, or whether every state is reversible.
Observe movement after subject paralysis
This moment supports the warning to record unusual movement after paralysis without inferring a complete state-transition rule.
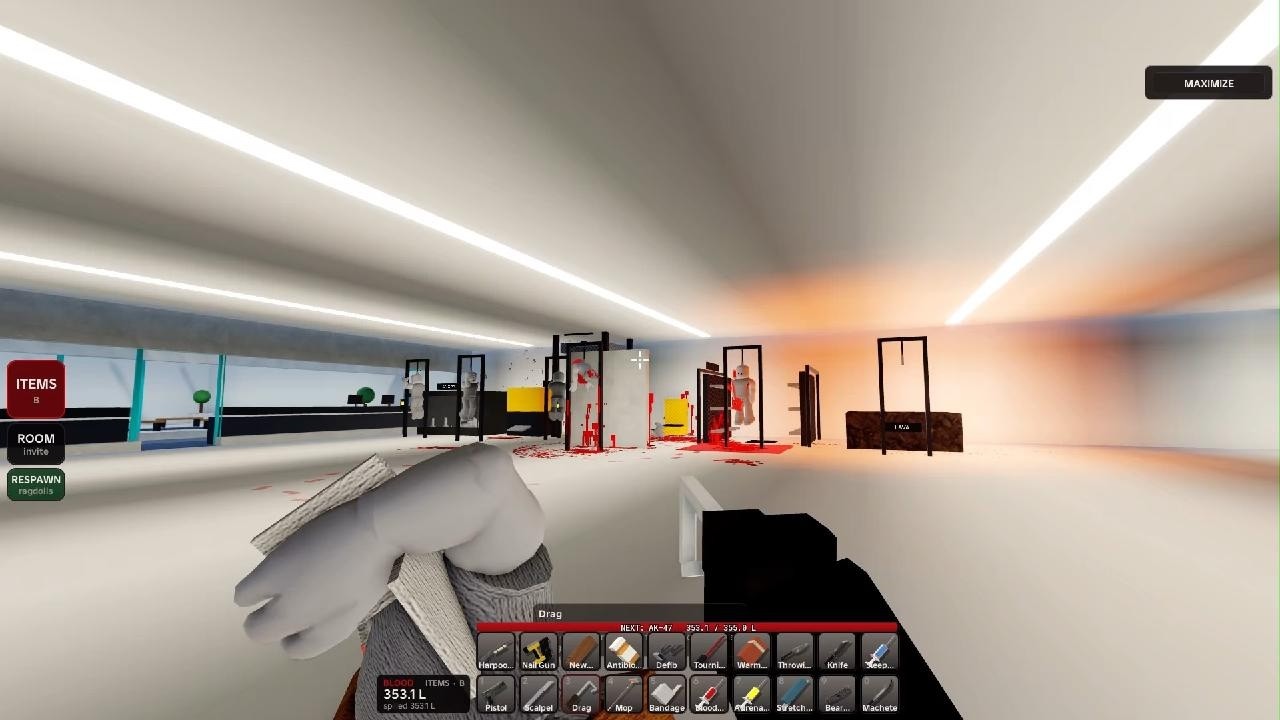
For recovery tests, use the injured subject with Medicine items such as bandages, chest seals, medication, or a defibrillator where available. The medicine guide gives the recovery test its own controlled follow-up instead of treating the item as a guaranteed cure. Observe whether the tool changes bleeding, movement, or the survival state, and record the result as an attempt rather than a guaranteed cure. A subject that is already dead should not be assumed recoverable simply because a medical tool is present.
Choosing a subject experiment
Use the following decision rules when deciding what to test next:
- Choose a fresh
Test Subjectfor a baseline or when the previous wound makes the result ambiguous. - Compare armor when the question is protection; compare locations when the question is anatomy; avoid changing both at once.
- Target the torso for a clear bleeding comparison, the throat for a severe blood-loss observation, and the head when checking the possibility of immediate death.
- Test arms or legs when the goal is fracture or paralysis, and watch movement after the hit instead of relying only on blood volume.
- If the subject reaches
KO, record the preceding injury and do not label the cause as blood loss unless the sequence supports it. - If the subject dies, start a new test for the next comparison because the dead body is no longer a normal active subject.
The environment can add another variable. A chair, wall, glass panel, or obstacle may change positioning and make an injury harder to inspect. Keep the scene simple for a damage comparison, then add environmental objects only when the interaction itself is the subject of the experiment.
When comparing results, use the same observation window for each subject. Check the immediate wound, the next movement or fall, and the final active state. Also note whether blood is spraying, dripping, pooling, or leaving a trail, because those are useful visible differences even when the underlying damage value is not shown. If two tests look different but used different positions, reset the scene and repeat before drawing a conclusion. This is especially important for limb tests: an apparent movement change may reflect the subject's position or environment rather than a confirmed paralysis threshold. Keeping a short record of weapon, armor, target, and state gives you a practical catalog without assuming hidden numbers.
Limits and mutable details
Blood Lab's public game description presents a private laboratory with NPCs, 14 weapons, fluid-like blood movement, selectable layouts, and unlocks tied to blood spilled. It does not specify a subject damage chart. The subject records likewise do not confirm exact weapon thresholds, armor percentages, paralysis duration, KO causes in every case, death reversibility, or the blood amount required for each unlock.
For those details, use the current in-game panel and your own controlled comparison. Treat Pouches: 60% as an unresolved label, not a guaranteed statistic. Treat observed bleeding, fractures, paralysis, KO, and death as outcomes that can vary with the tool, target, protection, and environment. This keeps the subject catalog useful without turning reported observations into unsupported rules.